A beginners guide to using a digital multimeter at home for troubleshooting electronics gadget.

A multimeter is a multi-purpose tool that every electronics hobbyist or engineer need to have because it allows you to be able to troubleshoot most electronics problem you have at home.
So in this post I would be discussing on some of the important things you need to know about a multimeter and some of the things you can do with it.
What type of multimeter should I buy?
I would say, as a beginner, all you need is a basic and cheap but functional multimeter that get your job done instead of buying a costly multimeter.
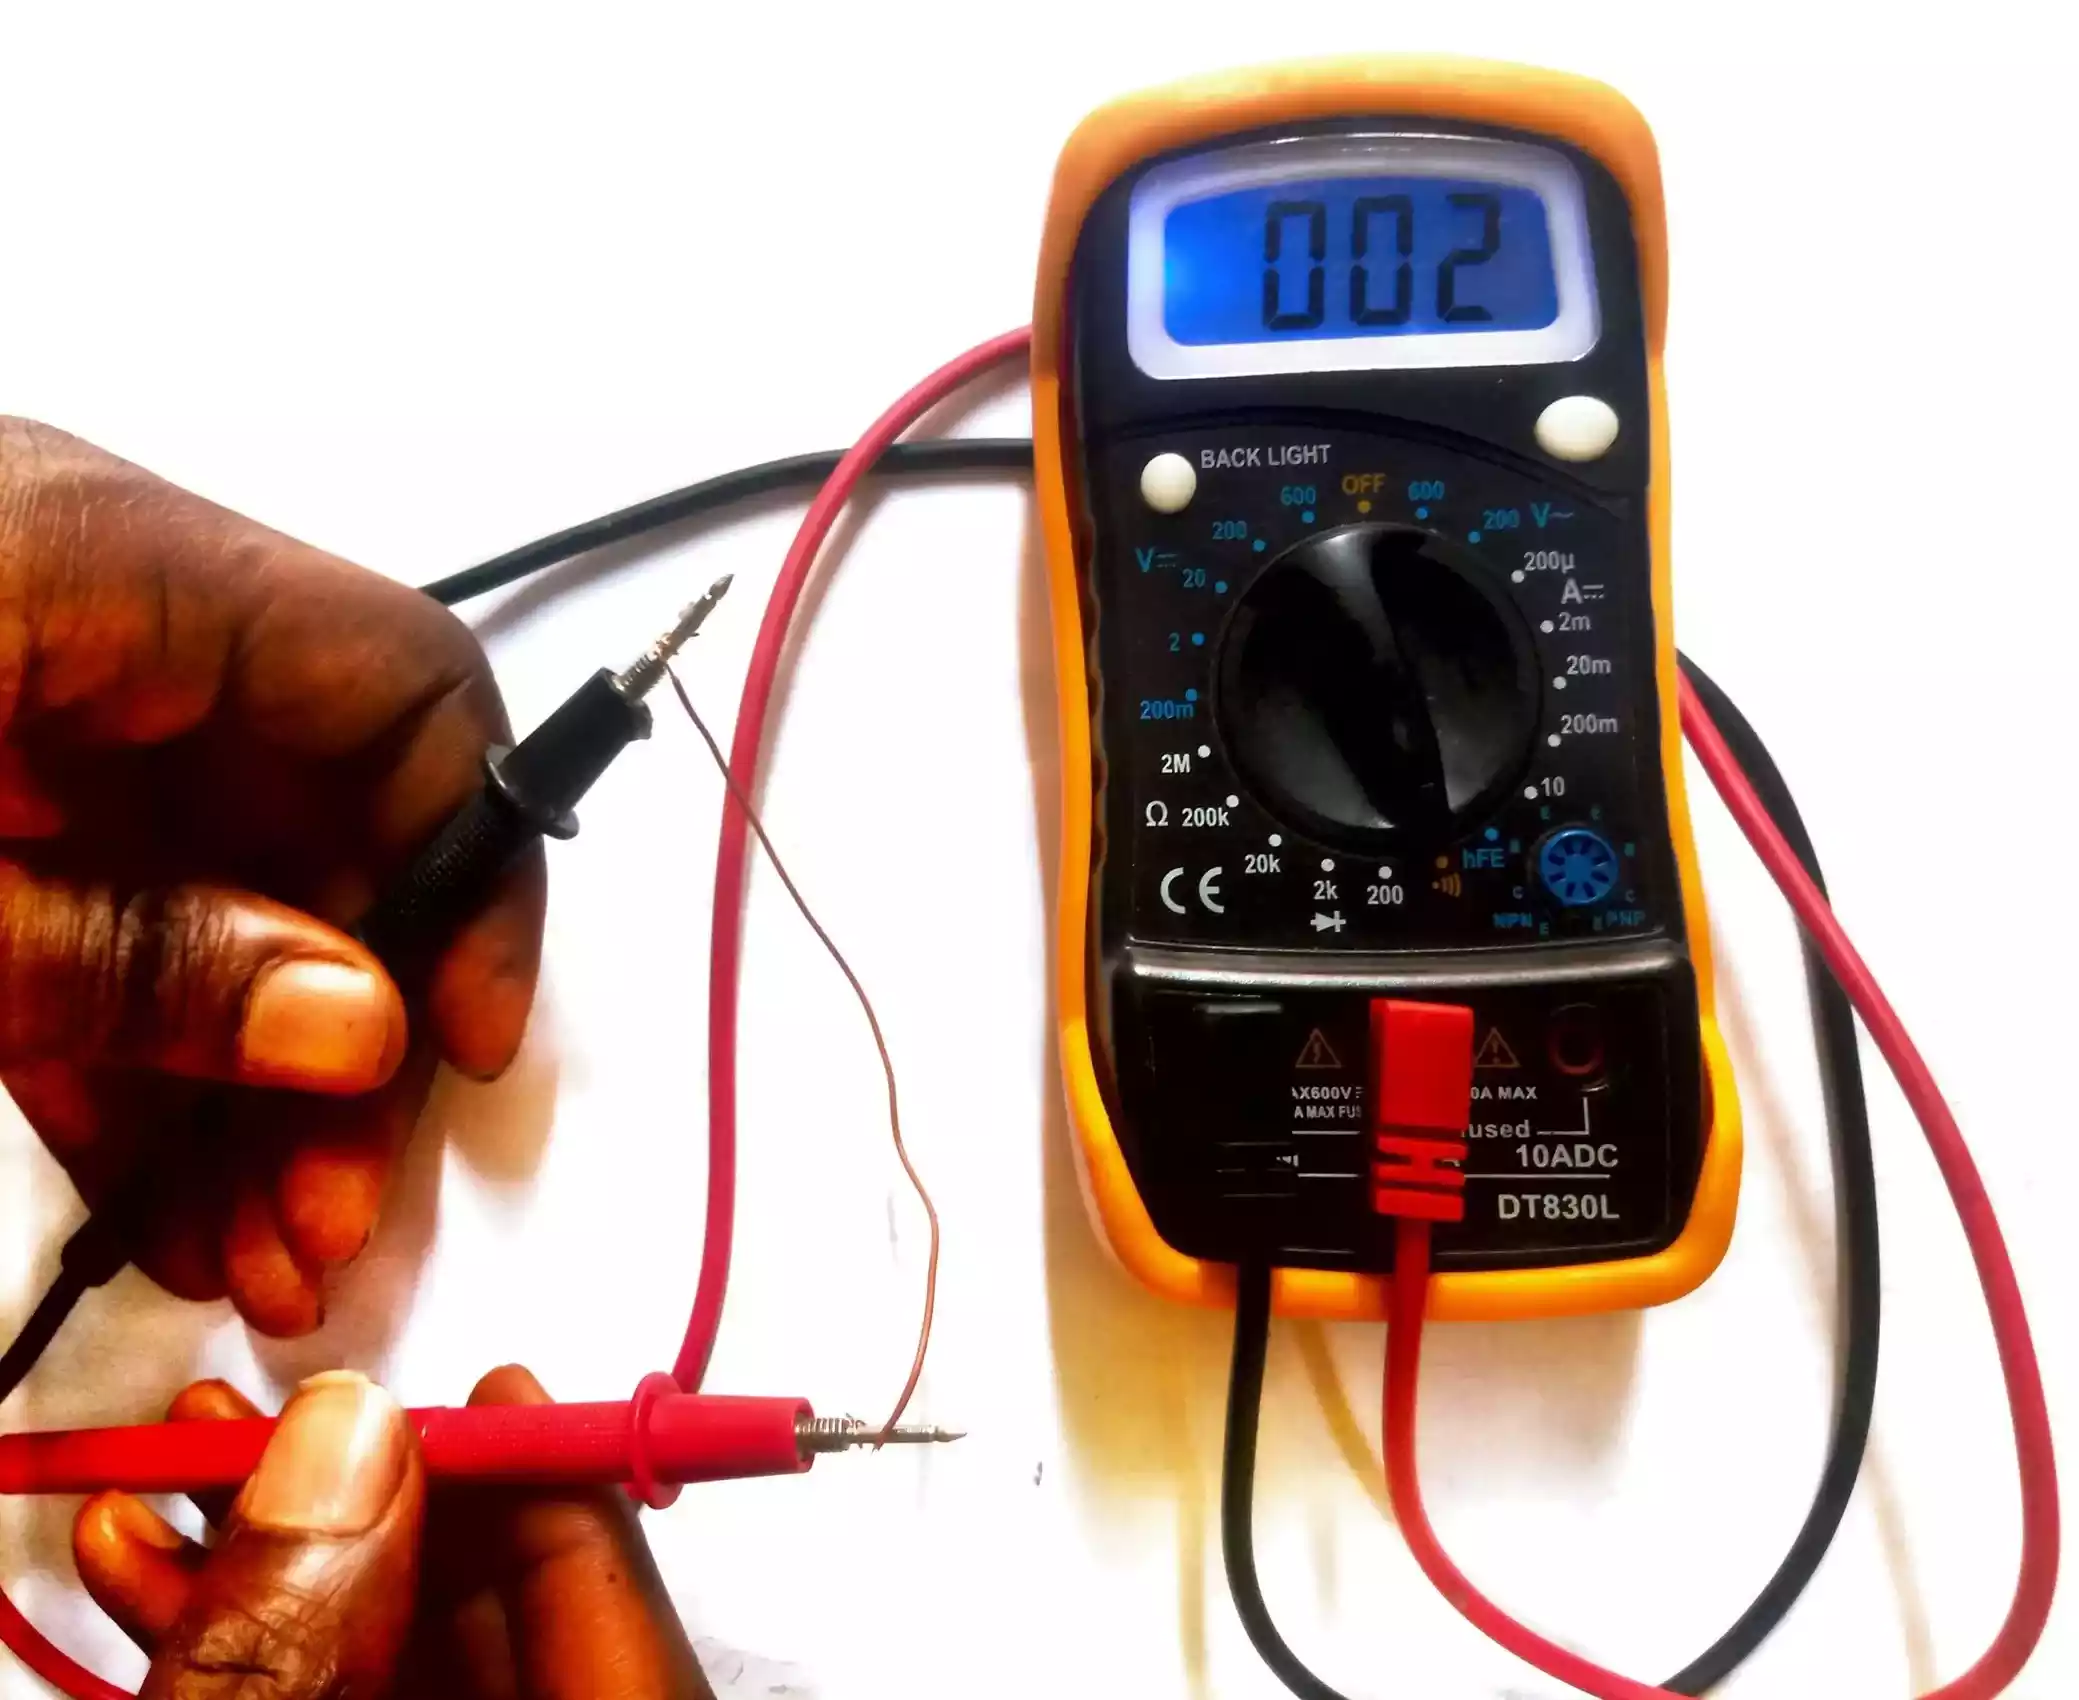
And I would recommend DT830L or higher version because this is what I started with while learning the basics of how to troubleshoot electronics.
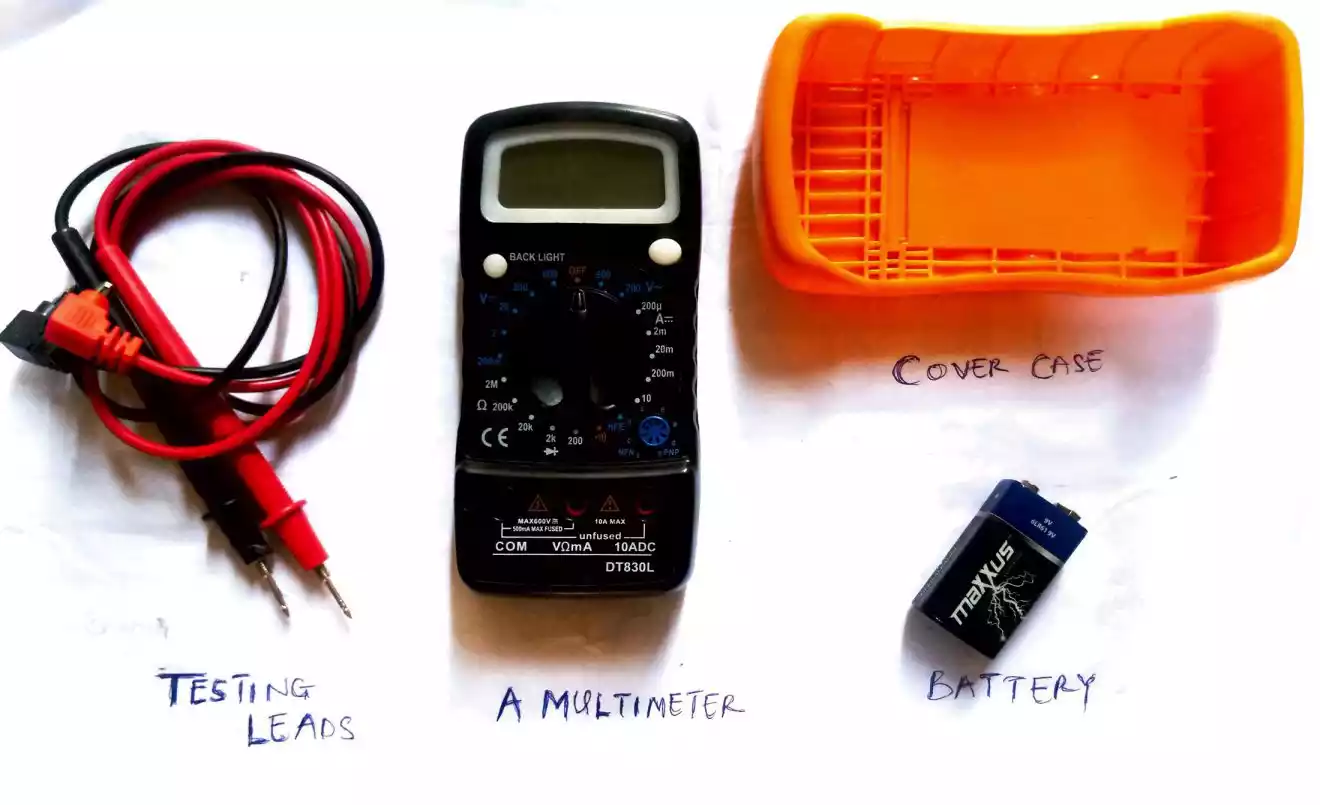
Inside the case of a DT830L or similar version, you will find the multimeter itself, a cover case, connecting leads and a battery.
steps to go
-
Before you can start using the multimeter, you will need to insert the battery and to do that, you need a screw driver to open the back case gently.
After then you will have to connect the battery with the terminal clip and then fix it back and close the case.
-
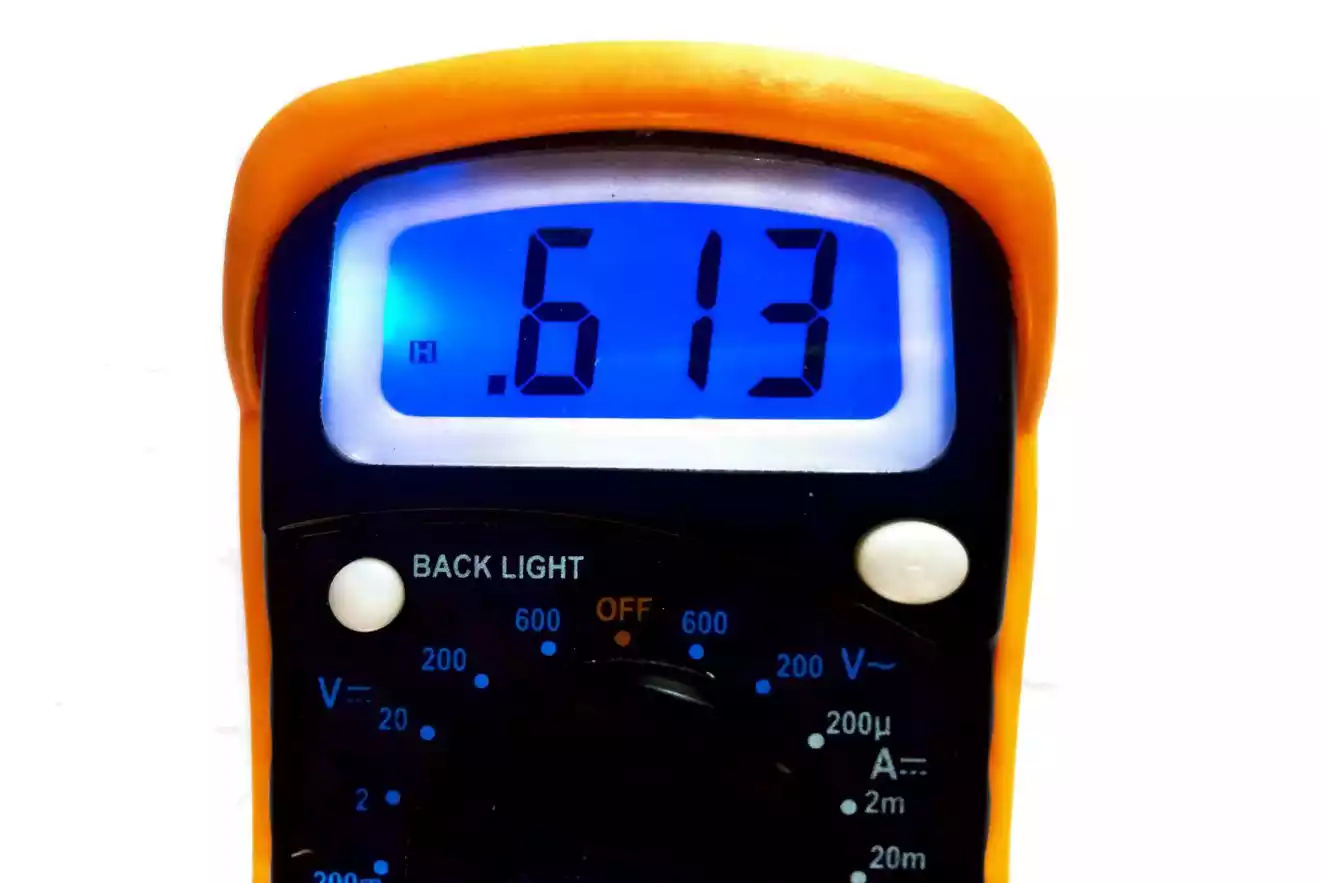
Test if the connection is done right by turning the knob to another point order than theoff position.
-
You need to put the multimeter into it cover case. And also you need to put the connecting leads into their respective port.
The fused one is use for making all basic and necessary troubleshooting but for the unfused, it is mostly used if you want to measure a bigger value of current that is not in the milliamps range.
And can measure current up 10 amps d.c as noted on it.
So just insert the black connecting lead toCOM and then the red connecting lead to the fused red port.
What you can use a multimeter for
At this stage, you need to know some little thing about a multimeter by looking at the sketch below.
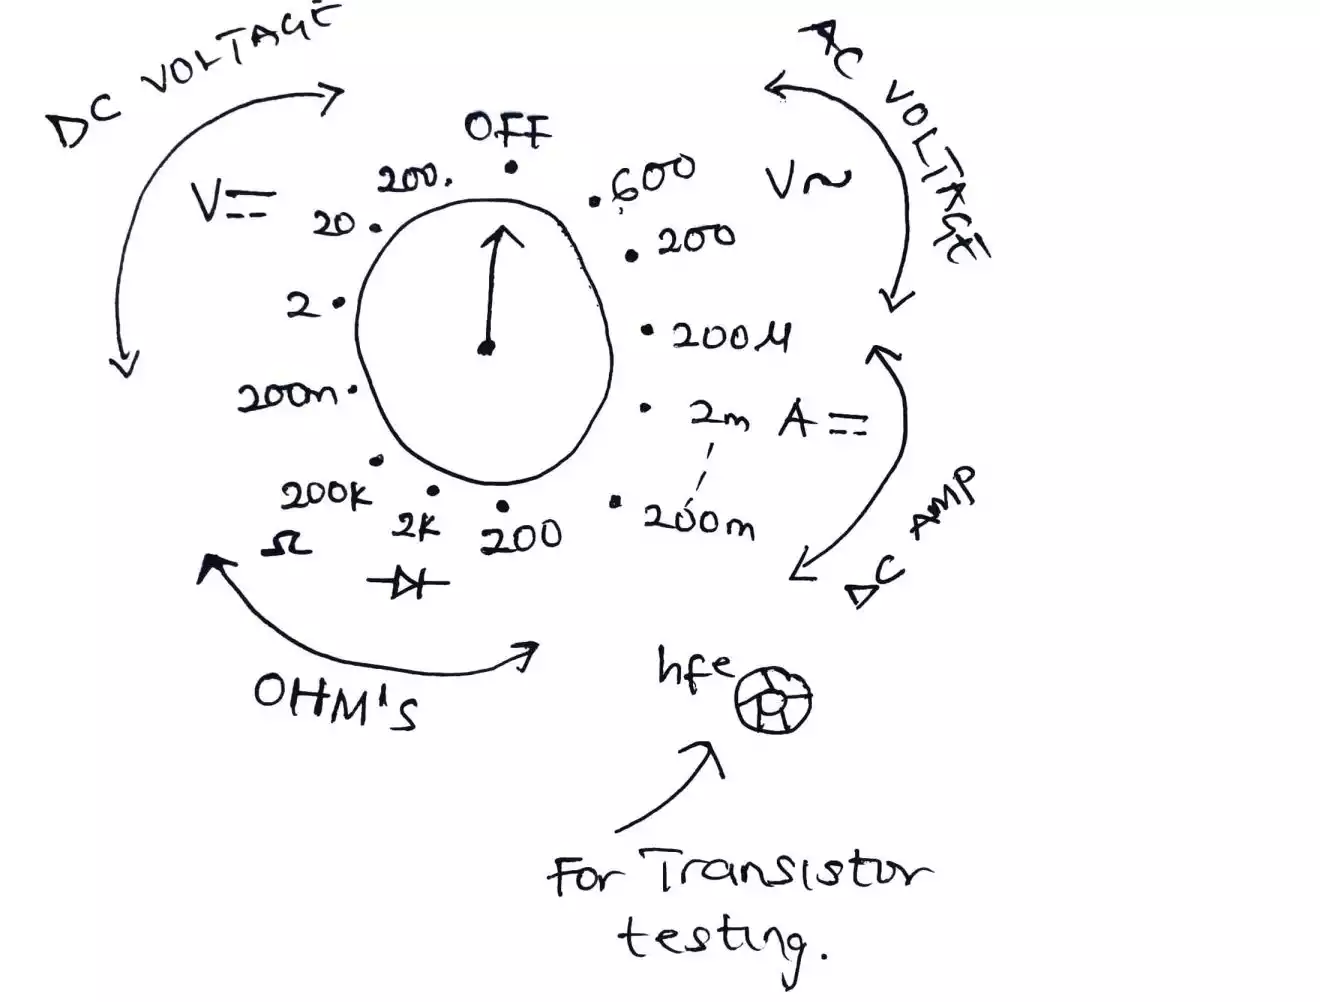
In order to measure d.c (direct current) voltage, like the voltage of a battery, you need to switch it to the d.c voltage side and choose the corresponding value or value greater than the voltage you are about to measure.
For example if you are interested in measuring 25V, since there is no 25V written on the d.c part, but only 20V, just shift the knob to 200V.
In order to measure an a.c (or alternating current) voltage, just switch to the a.c side and as always make sure to turn it to the range of value greater than what you are about to measure.
In order to measure resistance, which is mostly what you would be working with apart from testing continuity which will be discussed later.
You need to turn the knob to the ohm’s side and choose a value greater than or within the range of the ohms value you wanted to measure.
For example, to measure a 10KΩ resistor, you need to teurn the knob to 200KΩ since there is no any value greater than 10KΩ.
But what if you don’t know the value of the resistor, switch the knob to the lowest value first and test and if it doesn’t display any reading, it means that the resistor value is grater than the position you place your knob.
So all you need to do is to just keep turning the knob until you get a value.
Note
At the bottom part or the side of the ohms, you will see, a diode symbol, this allow you to test what is the forward voltage of a diode or to test if a diode is working.
Another thing which is the most important aspect of why I love to use a multimeter is the symbol that looks likeWi-Fi.
It is called the continuity tester, when you shift the knob to that part, you can test if a wire or conductor is broken.
If it is broken, it will make no sound but if the wire is okay, it will make some buzzing noise.
You can just do a fast test by shifting the knob to the continuity tester and then join the two connecting lead terminals and see if it makes a sound.
Lastly, the other part that is closed to the Wi-Fi like shape is called hFE or transistor tester but I won’t go on to explaining how to use it because I just want you to start using the multimeter for some basic troubleshooting.
some few FAQs
❓How do you use a multimeter to check d.c voltage or to test a battery
All you need to do is, know what the value of voltage you are about to measure.
For example, if it is a 9V battery, turn the knob to 20V dc and then place the red connecting lead terminal to the positive side of the battery,
And the black to the negative side of the battery.
❓How to use a multimeter to test for continuity
Go back and see the section where we discuss about testing if a conductore or wire is working or not